
Are you a horror movie fan? Well, we’ve got a pitch for something scarier than you’ve ever seen. Ready for it? Are you sure? Okay. Here we go:
Concrete foundation repair.
…not what you were expecting? Okay, maybe Hollywood won’t be calling us anytime soon, but let’s be honest. Foundation repair can be a scary project for any homeowner to have to deal with. If you suspect you are dealing with problems with your concrete foundation, you may feel stressed, overwhelmed, and uncertain.
The good news? You don’t need wooden stakes and silver bullets to fight off this monster of a problem. All you need is:
- A little research 📚
- A little elbow grease 💪
- Some professional advice 👷🏼♂️
Luckily, we are here to provide you with at least 2/3 things! If you’re interested in learning to how to repair foundation cracks in your home, keep reading!
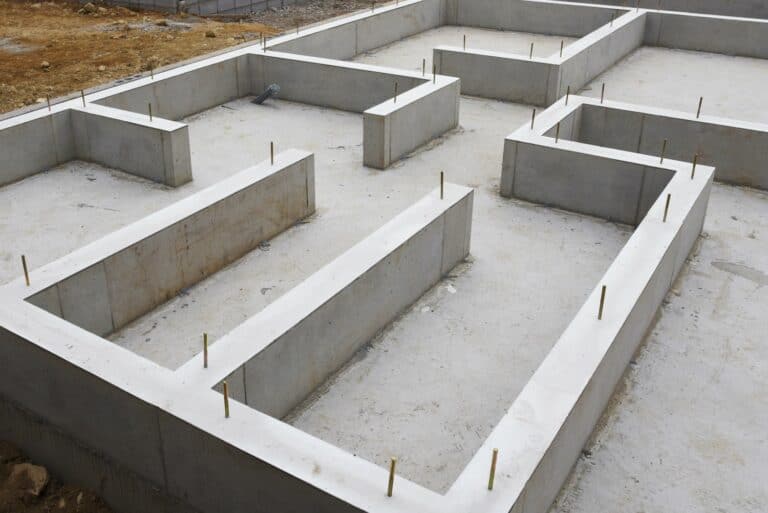
Concrete Foundation: Pros and Cons
There are many different types of foundation materials. Some are more popular in certain areas than others. However, concrete slab foundations are relatively common due to their affordability. Here are some of the pros and cons of having a concrete foundation in your home.
✅Pros:
- Affordable – Concrete slab foundations are one of the most affordable options on the market, making it an appealing choice for homeowners and builders alike.
- Pest Resistant – When other foundation types rely on having a crawl space, they put your home at risk for pest infestations. Concrete foundations do not create a crawl space, thereby helping your home stay pest free.
- Energy Efficient – Concrete is an excellent insulator, meaning that it can help keep your energy costs low.
❌Cons:
- Difficult Access – When you do have foundation problems, the structure of the concrete foundation can make it difficult for a repair team to access.
- Plumbing – In order for a concrete foundation to work properly, pipes have to be embedded into the concrete. This can be a pain if you have to deal with plumbing maintenance later on.
- Not Right For All Climates – Concrete is vulnerable to damage from ice and changing temperatures. It also isn’t the best choice for those who live in areas where earthquakes are a possible occurrence.
Signs Your Concrete Foundation Needs Repair
It can be difficult to tell when your foundation needs repair. After all, most of the time, it is relatively out of sight. If you suspect that your foundation isn’t quite right, look for these signs:
- Scaling – Scaling is a relatively common process that occurs with concrete foundation. Scaling occurs when your foundation is exposed to water that keeps freezing and thawing. This can result in cracks and crumbling.
- Wall Cracks – Are long, spidery cracks forming on your walls, particularly in the corners? This could be a result of your foundation settling, causing your walls to shift slightly.
- Doors Won’t Close – We’ve all had the experience of dealing with a particularly stubborn door that just won’t stay shut or close at all. Sometimes, this can simply be due to the weather. However, if your door is swinging open all year round, it is a good indicator that your foundation may have moved and the door frame is no longer in alignment.
- Fixtures Are Moving – Are your kitchen cabinets slowly separating from the walls? Do you notice a gap between your kitchen backsplash and the counters? Your foundation may be slowly shifting.
- Cracks in Basement Floors – Sometimes, homeowners will discover long, horizontal cracks running across their basement floors. This is a sure sign that you need to have your foundation looked at.
Why Is My Foundation Cracked?
So, what causes these foundation cracks in the first place? Here are a few of the biggest culprits:
- Weather Changes – Repeated freezing and thawing is one of the main reasons that concrete starts to degrade. Because it is a porous material, too much moisture will cause expansion and contraction.
- Poorly Mixed – There is a chance that your concrete was not installed correctly in the first place. Occasionally, the builders add too much water. This weakens the bonds in the concrete, which leads to it being more susceptible to cracks and crumbling.
- Exposure to Salt – If you live in a cold climate, you’ve likely used de-icing salt before in order to melt ice on your driveway. However, when that salt comes into contact with your concrete foundation, it can lead to crumbling.
- Mineral Exposure – Concrete often becomes exposed to minerals that leach into the concrete and loosen the bonds. This then leads to crumbling and cracking.
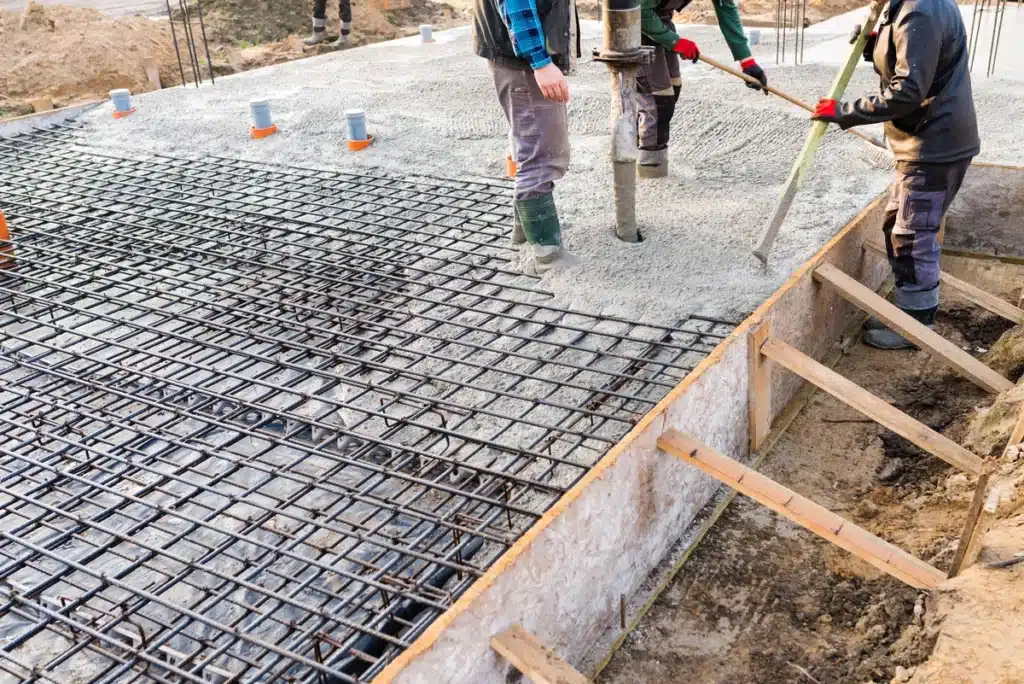
Steps to Repair Concrete Foundation
If you have simple cosmetic damage to your foundation, you can actually make the repairs yourself! Follow these steps to make your foundation as good as new.
1) Prep Work
Before beginning your repairs, it is important to prep the area that you plan to patch. You’ll want to make sure that it is free of debris, frost, and dirt. While you will want to remove any loose concrete, be careful not to damage the existing concrete.
We recommend using a power washer to get the high-pressure clean the area needs. Wait 24 hours until the area is completely dry.
2) Wet the Concrete
The following day, you’ll want to slightly wet the concrete. While you want the concrete damp, there should be no visible pooling or puddles.
3) Apply Cement Paint
Next, you will carefully apply cement paint or adhesive primer. Cement paint is made by mixing cement with water until it has a smooth, latex paint-like consistency. Using a paintbrush, you can then apply the paint to the area that you are planning to patch.
4) Patch the Area
It’s time to install your patch! Keep in mind, though, that this method only works for small cracks and crumbles. For larger damage, you’ll want to consult with a professional. Using a ready-mixed concrete patching material, you’ll want to carefully fill in the holes and gaps. Allow this to sit for two minutes before applying a second coat. The area should look level and smooth at this point.
5) Cover the Patch
After allowing the patch to cure for around thirty minutes, you will want to attach a tarp or covering over the affected area. Over the next few days, you’ll want to keep the area moist. You can use a sprayer or a garden hose to wet the area once a day. Keep the patch covered for at least two days until it has fully cured.
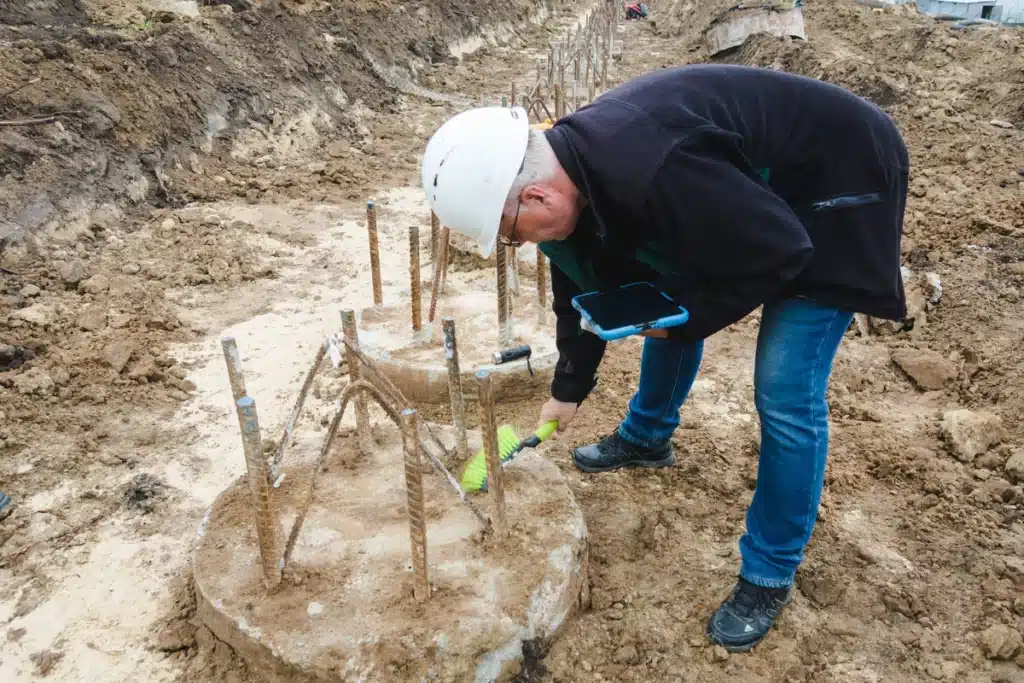
6) Call a Foundation Pro
Finding that the problem is larger than you anticipated, or think there is a bigger structural problem that needs to be addressed? We always recommend reaching out to a reliable foundation expert to get the answers you need. They will be able to properly assess your home and offer solutions that are designed to fix the root of the problem.
Call on Perma Pier!
Not sure where to start? Perma Pier can help! Our team is proud to be Texas’ foremost foundation experts, with a proven track record of coming up with affordable and professional solutions for homeowners. Contact us today to set up your home evaluation!